0.96inch OLED Display (pre-soldered header)
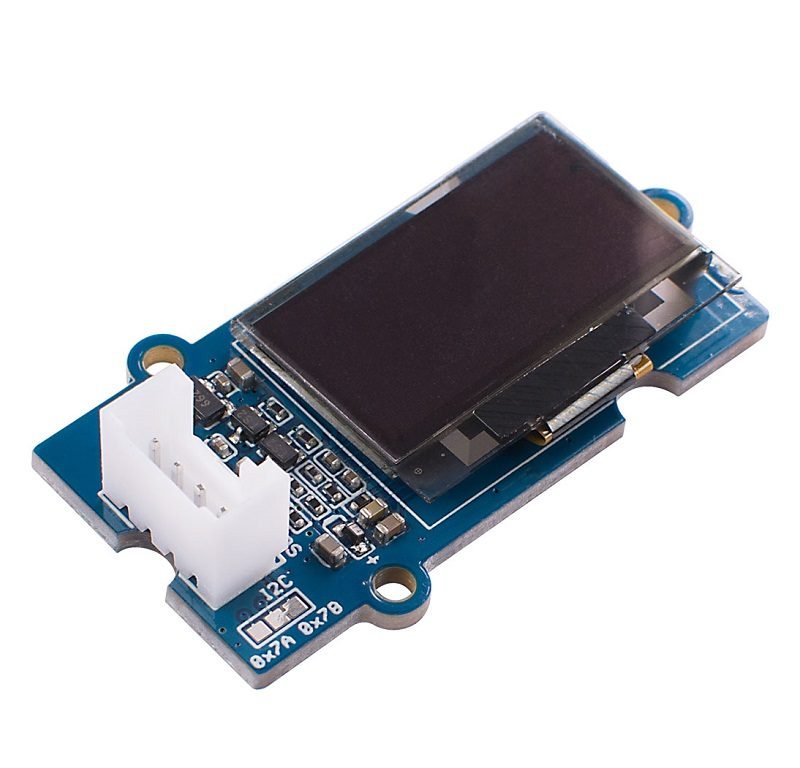
The organic light-emitting diode (OLED) display is a bluemonocolor, 0.96-inch display with 128×64 pixels as shown in the following figure.

The OLED display doesn’t require backlight, which results in a very nice contrast in dark environments. Additionally, its pixels consume energy only when they are on, so the OLED display consumes less power when compared with other displays.
The model we’re using here has only four pins and communicates with the Arduino using I2C communication protocol. There are models that come with an extra RESET pin. There are also other OLED displays that communicate using SPI communication.
Pin wiring
Because the OLED display uses I2C communication protocol, wiring is very simple. You just need to connect to the Arduino Uno I2C pins as shown in the table below.
| Pin | Wiring to Arduino Uno |
| Vin | 5V |
| GND | GND |
| SCL | A5 |
| SDA | A4 |
If you’re using a different Arduino board, make sure you check the correct I2C pins:
- Nano: SDA (A4); SCL (A5);
- MEGA: SDA (20); SCL (21);
- Leonardo: SDA (20); SCL (21);
Library: Guide for I2C OLED Display with Arduino | Random Nerd Tutorials
Packing list:
x1 unit 0.96inch 12C OLED Display (pre-soldered) green board
Related products
$12.00
$1.20
$2.50